free · scopes
Hakari 計りfree
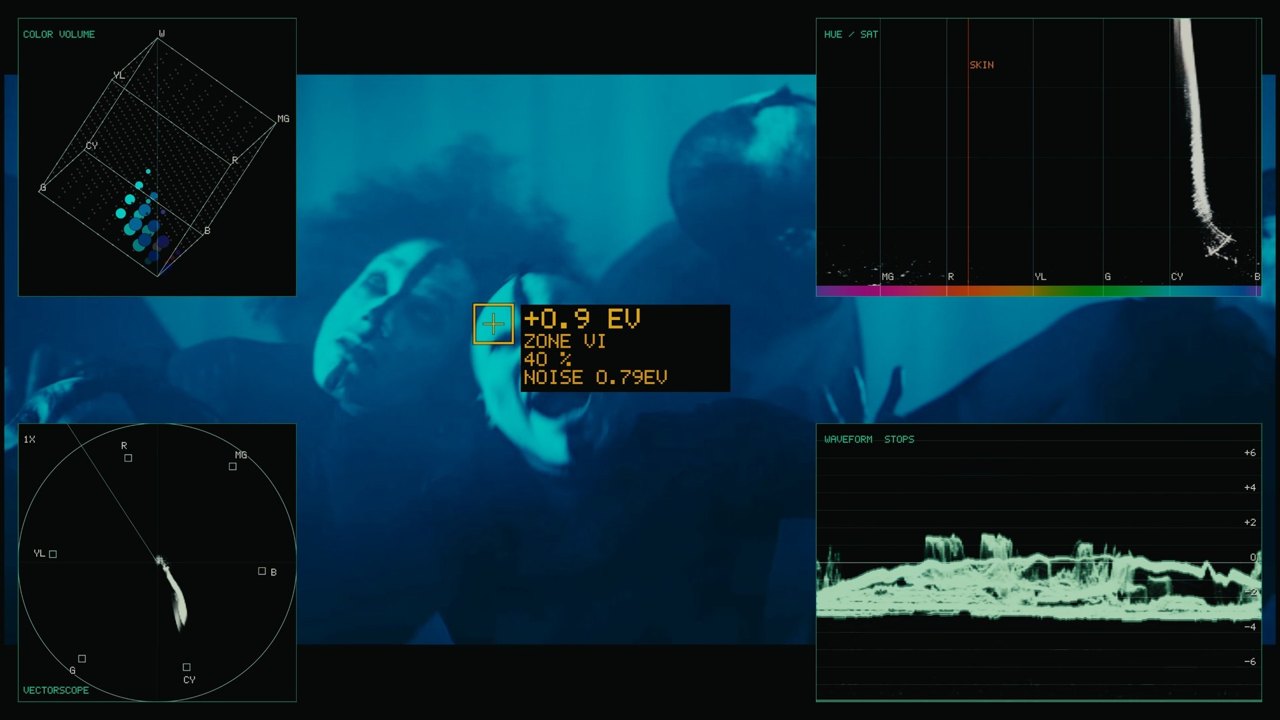
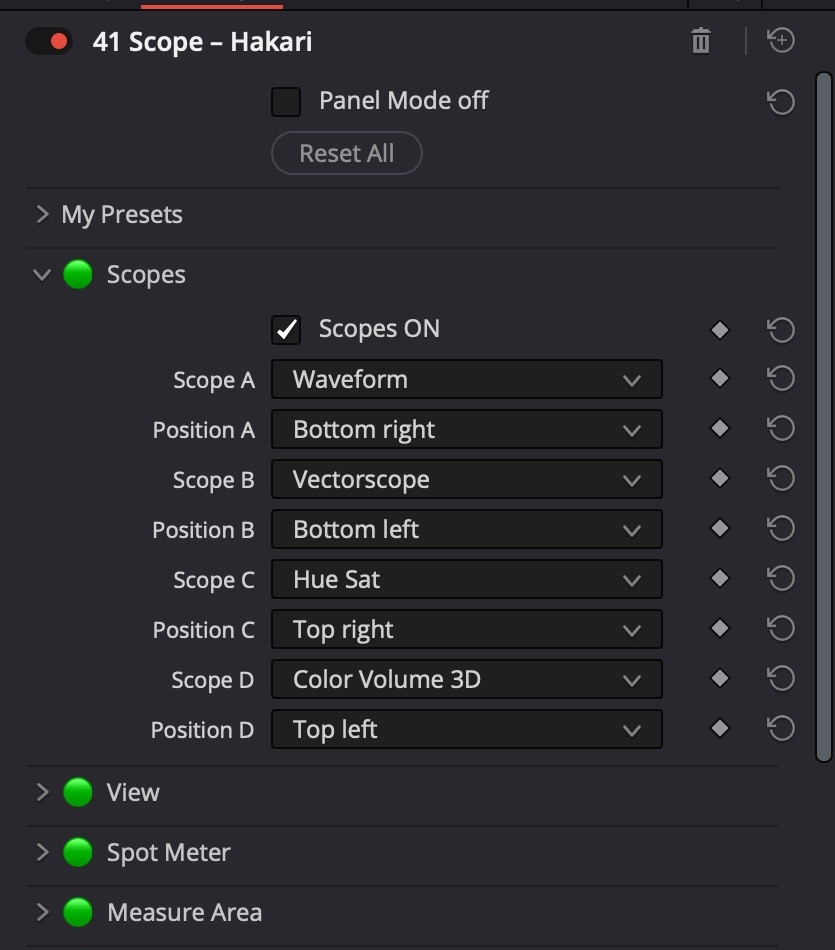
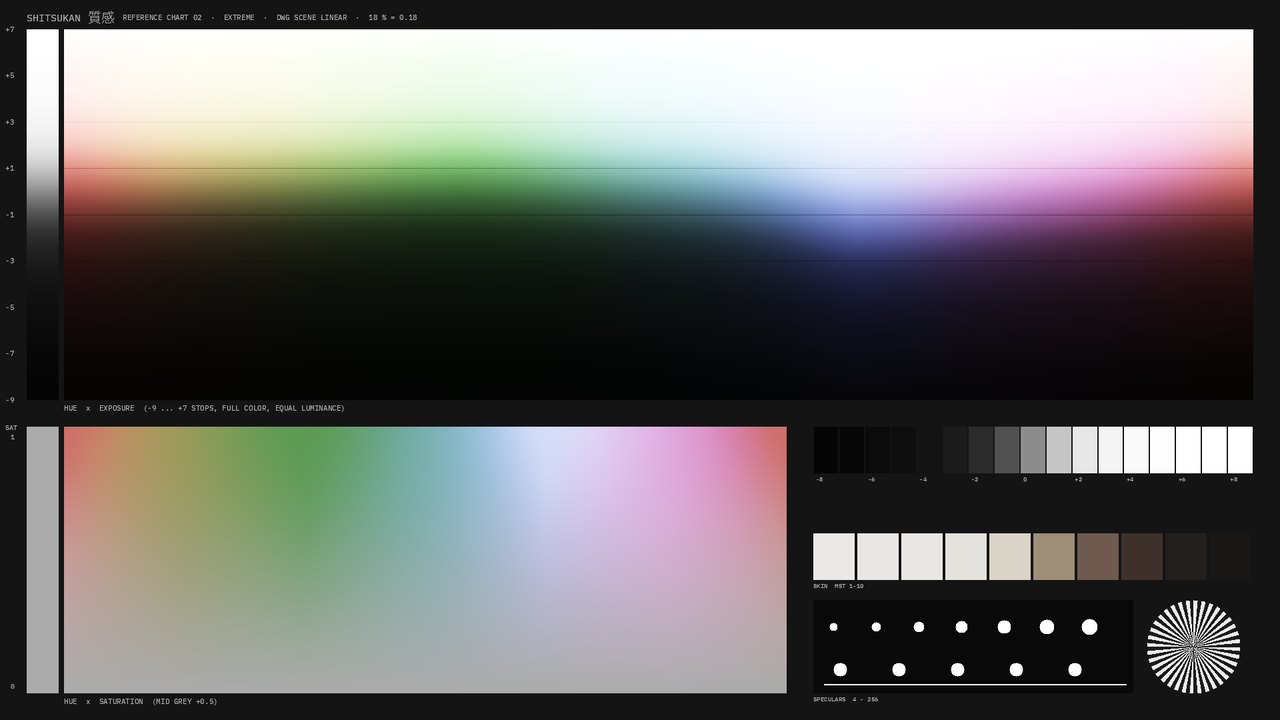
Waveform, vectorscope, hue/sat, colour volume, histogram and a spot meter in stops, right in the viewer. False colour, log input, PQ and HLG.
Tools I first built for my own work, as a cinematographer (bvk) and colorist. OpenFX plugins for DaVinci Resolve and effects for Final Cut Pro that think like camera, filter and lab. Hakari is free now, Kantan comes as Easy, the packages follow soon.
beta testall tools for three months without watermark · DaVinci Resolve and Final Cut Prorequest →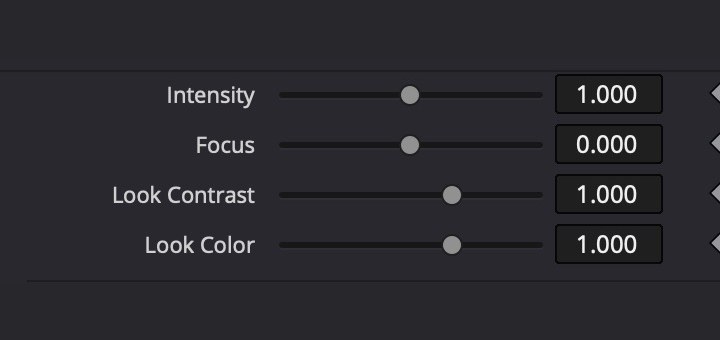 the same controls in the same place
The tools follow one layout: Intensity first, Focus second where a tool has it, then the tool. Panel Mode puts them on the knobs of the Mini Panel, the switches on the buttons, Reset All and the display always on the same keys.
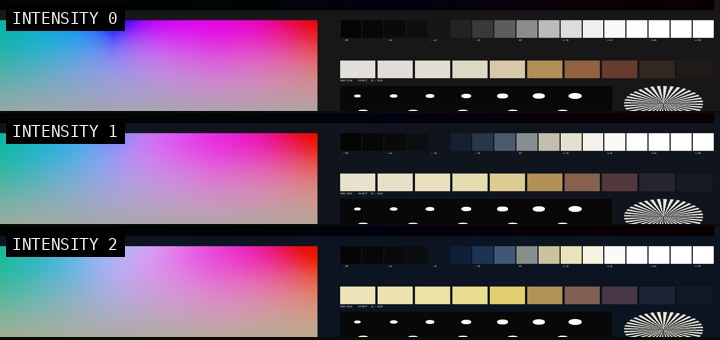 intensity, focus, look contrast, look color
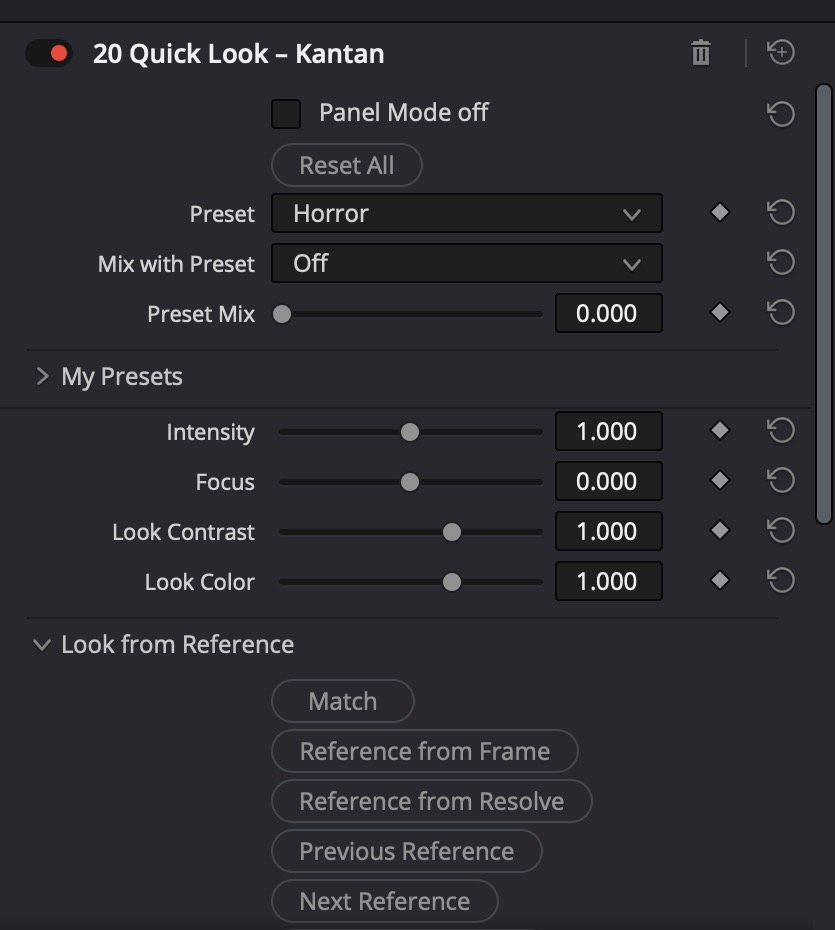
Intensity: 0 neutral, 1 as set, 2 double, running out softly. Focus moves where a tool acts. Look Contrast and Look Color dose the curve and the colour of a look separately.
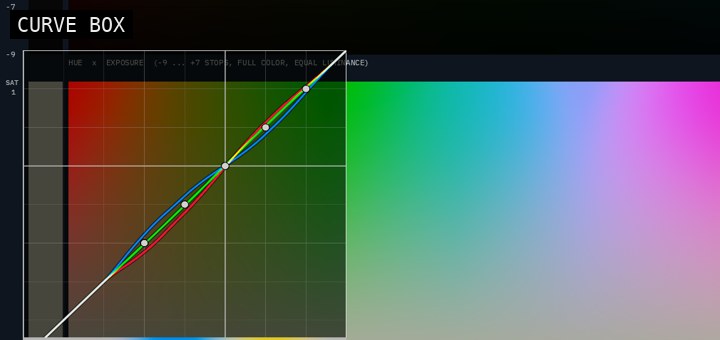 own scopes as an overlay
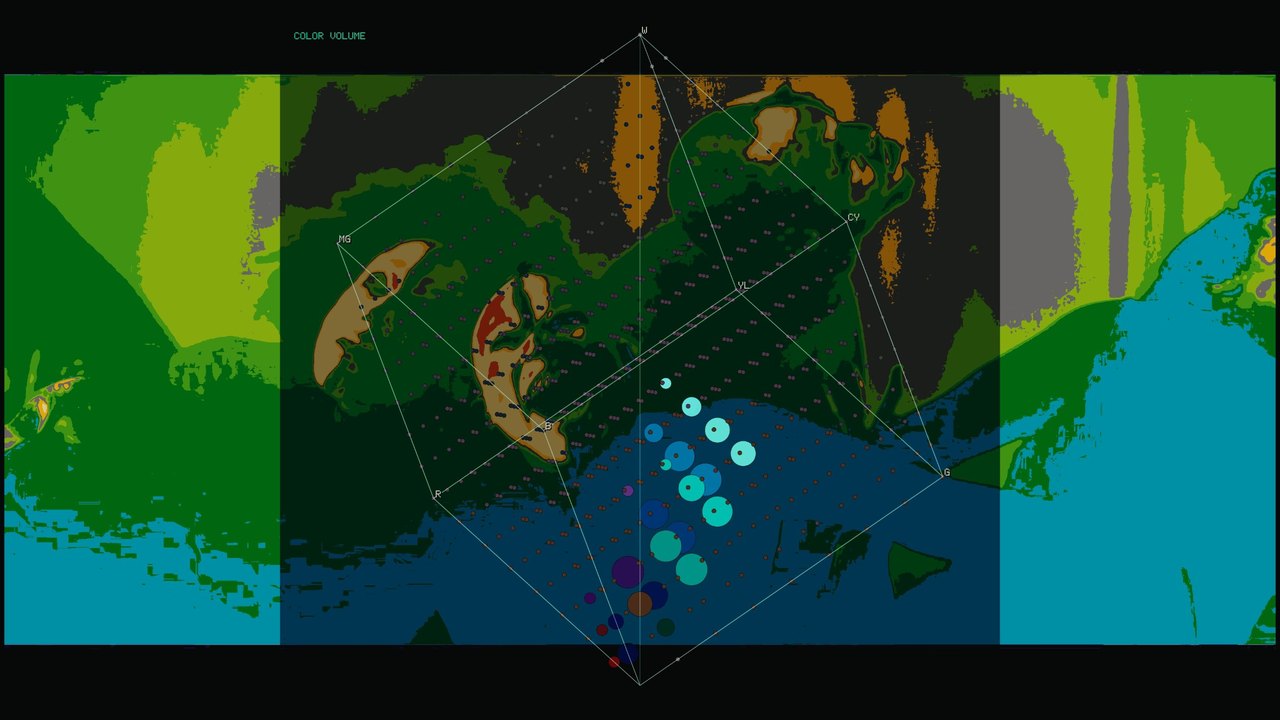
Most tools draw what they do into the viewer: curves, wedges, masks. Hakari adds waveform, vectorscope, colour volume and false colour on top of the image.
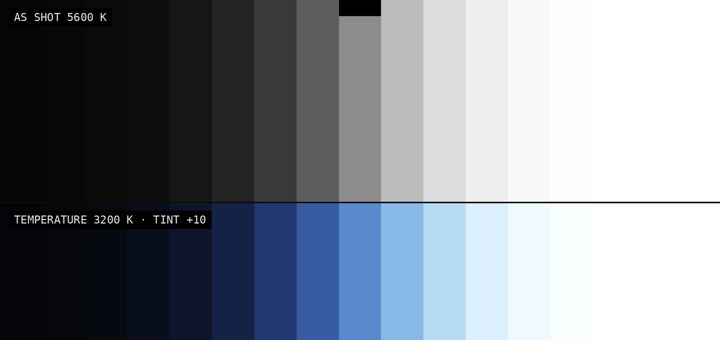 like camera, filter and lab
Kelvin, stops, zones, printer points, in linear light. Curves never invert, black and white stay protected, and no tool breaks the image.
In the grading tools knob 1 is Intensity, knob 2 Focus where a tool has it (Hakari, Kijun and Irodori start with their own controls). In the look tools Contrast and Color follow on knobs 3 and 4 (Kantan, Utsushi, Inga, Yōga; Genzō and Hyō right after Intensity). Tools with more controls continue on page 2 and beyond. Button 1 Panel Mode, button 2 the tool on or off, the last two Reset All and the best display.
Waveform, vectorscope, hue/sat, colour volume, histogram and a spot meter in stops, right in the viewer. False colour, log input, PQ and HLG.
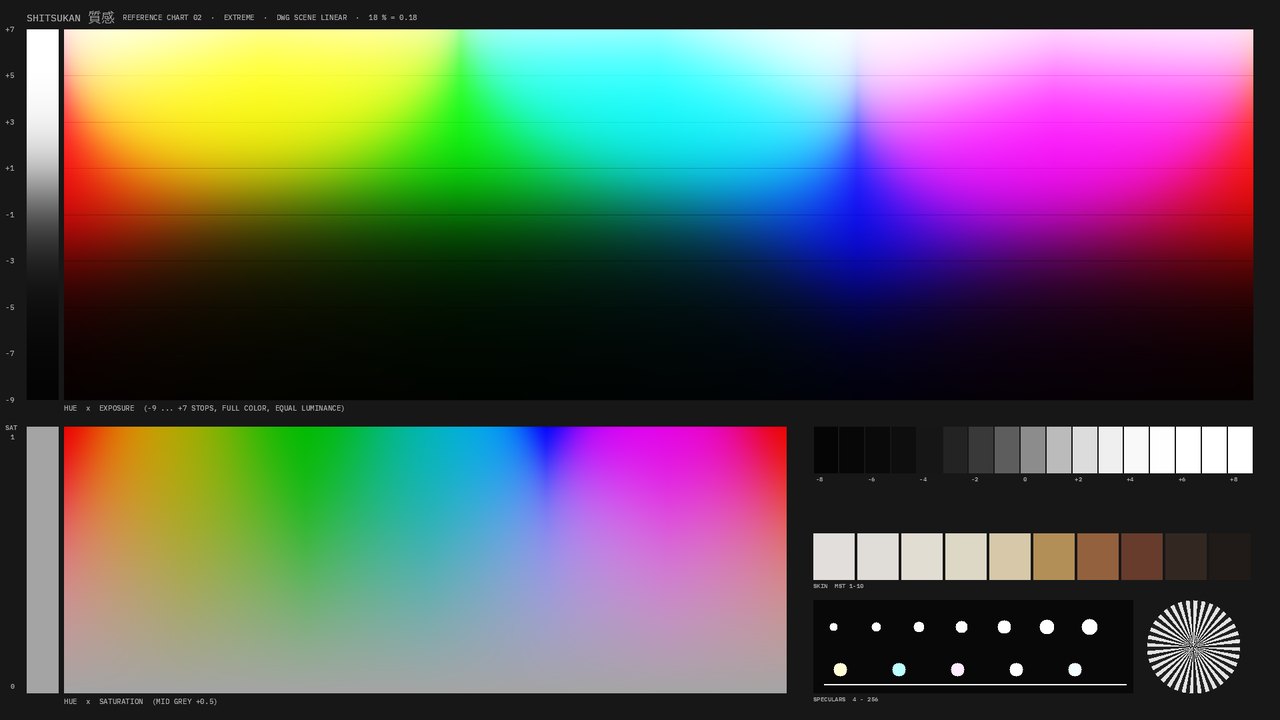
A look from a preset, a reference image or a LUT. Then Intensity, Focus, Look Contrast and Look Color. From a LUT Kantan takes only the look, the colour curve: no contrast, no colour space.
Prices include VAT for buyers in the EU. Please try the free trial mode first and check the system requirements and how it fits your workflow. I don’t offer a voluntary money-back guarantee. Your statutory warranty and withdrawal rights remain unaffected.
Try before you buy: Hakari stays free for good. After the free checkout (email only) you get the installer and your key, no expiry, up to three Macs. The installer contains all tools, so you can try every one of them on your own material; without a key they run with a watermark. Beta testers get a free key for all tools, valid for three months.
All other tools come as five packages. Each package has its own page with a short preview.
White balance, base grade, zones, day for night, highlights, density. The camera side of the image.
The photochemical path in three nodes: negative, printer lights, print.
Looks from a reference, film looks, skin, palettes, black and white, LUTs.
Texture, diffusion filters and lens: what glass and grain do to an image.
Scopes in the viewer (Hakari, free), test patterns and the finish of the display signal.
Shitsukan FX brings the tools to Final Cut Pro as effects, with the same controls and presets as in Resolve.
Pull the dominant colors out of any shot in one click and export them as a swatch card or Adobe swatches, for look boards and production design.
in developmentMeasures the noise and grain of one camera and gives exactly that texture to another: drone, gimbal or archive footage cut seamlessly against the A camera.
plannedThe tools run on macOS with Apple Silicon today. Windows and Linux with CUDA are planned.
plannedOpen FX → Shitsukan, numbered in grading order. In Final Cut Pro they are in the Effects browser under Shitsukan.Hakari is free now, with a free key. Kantan Easy follows at a launch price of 19.99 € until 31.12.26 (then 29 €), then the five packages. Until then every tool runs as a trial with a watermark. Write me and I will let you know at launch.
Yes. They are tested in the free DaVinci Resolve 21 and in Resolve Studio 21. Hakari is free, and the installer contains all tools as a trial, so you can try everything in your own setup first.
Turn on View → Viewer Overlay → Open FX Overlay once and select the node. Show in Render puts the display into the image, so it also appears on the video output. Turn it off before rendering.
Yes, as Shitsukan FX: 22 tools as effects in the Effects browser under Shitsukan. Final Cut has its own licence; Resolve and Final Cut together cost only a little more. Shitsukan FX is in beta now, beta testers get all tools for three months without watermark.
Currently macOS on Apple Silicon only. Other platforms are planned.
The licence terms are on their own page: number of Macs, trial mode, updates, support and refunds via Polar.
Stephan Wagner, cinematographer (bvk) and colorist from Frankfurt am Main. The tools come out of his own grading work.


Optical diffusion — the soft halation of a Black Pro-Mist filter — rebuilt in software, in scene-linear light. Digital diffusion usually looks cheap because a single blur cannot mimic real glass; this kit stacks four weighted blur taps to recreate the heavy-tailed glow of real filters, then layers a milky veil on top. Free and open-source.